Baking

  • Strawberry drip cake with cream cheese filling – recipe

    Hello and welcome! I’m finally blogging for you in English! This strawberry drip cake is the first blog post that I’ve prepared for you.

    I will translate the rest of the blog as I go along. So if you click on any other posts and they are still in German, thanks for understanding! If you want to know what I wrote in them, I invite you to use Google Translate.

    Today’s recipe for you is a fluffy strawberry drip cake with cream cheese filling, covered in white ganache and decorated with strawberry ganache, and fresh berries. Perfect for surprising your mom for mother’s day, a loved one for their upcoming birthday – or any early summer celebration!

    Minh Cakes Strawberry Drip Cake title image

    I know it’s not quite strawberry season yet. But the weather was so bad in the last few weeks, that I needed something to brighten my mood. As soon as our strawberries are ripe, this cake is going to be even better to eat than to look at.

    Be warned: This project, although it looks deceptively simple, can easily take an entire day to make because there are many elements to it! The good news is that you can prepare most of the elements in advance: The sponges, the strawberry puree, the ganache, the Swiss Meringue buttercream, the sugar flowers and the meringue kisses. If you freeze the sponges and the buttercream, just remember to thaw them one day in advance. I’ve written some tips about scheduling your baking in this post.

    The sponge is based on the very versatile  Easy Genoise – this time with strawberry flavor. We’re adding strawberry puree to the batter. To make sure the batter has enough structure, I’m adding a little bit more flour. And the baking soda will combine especially well with the sour elements of the batter (fruit and buttermilk) and make it rise nicely.

    White ganache is pretty sweet – we are countering the sweetness with a generous pinch of salt in the ganache. Salt is great at cutting through overly sweet desserts.

    And a last trick I recently learned from Bravetart: You can optionally add a few drops of rosewater to your strawberry puree to enhance the flavor.

    Minh Cakes strawberry Drip Cake

    Decoration-wise, please be as creative as you like! On my strawberry drip cake, you’ll find chocolate bark made from candy melts, meringue kisses, handmade sugarflowers, fresh berries – and yes! Luxemburgerli by Sprüngli, the best in Zurich 🙂

    Without further ado, here is the Strawberry drip cake recipe for you:

    Strawberry drip cake by Minh Cakes

    • Servings: about 8
    • Print

    Ingredients

      For the strawberry cake (15cm (6″) diameter, 3 layers):
    • 100 g sugar
    • 2 eggs
    • 1/4 teaspoon salt
    • 100 ml buttermilk (plain or strawberry-flavored)
    • 94 g Alba-oil
    • 120 ml strawberry puree (see below)
    • 200 g flour
    • 1.5 teaspoon (8 g) baking powder
    • 0.5 teaspoon (4g) baking soda
    • Optional: Pink food coloring
    • For the strawberry puree:

    • 500 g strawberries
    • 250 g jam sugar (sugar with pectin)
    • 1 tablespoon rosewater (optional)
    • For the Cream Cheese filling:

    • 160 g Swiss Meringue Buttercream
    • 40 g Philadelphia
    • 40 g Mascarpone
    • 2 tablespoons instant vanilla pudding powder (containing modified cornstarch, as a stabilizer)
    • For the white ganache:

    • 300 g white chocolate, chopped
    • 100 ml heavy cream
    • 1 large pinch of salt
    • For the strawberry ganache:

    • 100 g strawberry puree (see above)
    • leftover white ganache from above, after covering the cake
    • Decorations: Fresh strawberries Sugar sprinkles Chocolate bark (homemade or store-bought) Meringue Baisers Macarons Sugar flowers etc…

    Preparation

    Make the strawberry puree Wash the strawberries, dry them well and cut them in fours.

    Put them in a saucepan with the gelling sugar and bring to a boil, stirring from time to time.

    Lower the heat and leave to simmer for 10-15 minutes. Remove the pan from the heat and stir in the rosewater, if using. Strain the strawberries through a meshed sieve. You can freeze the pulp for a future buttercream, today we are only using the reduction. Let the puree cool down.

    Bake the cake Preheat the oven to 180 C (350 F). Line a 15cm (6″) baking pan with baking paper, or grease and flour it.

    Mix flour, baking powder and baking soda in a separate bowl and set aside. Place sugar, eggs and salt in the bowl of your mixer and whip them together for at least 10 minutes on high speed.

    In a separate bowl, stir together the buttermilk, oil, strawberry puree and food coloring (if using – without the food color, your cake will be brown). Turn your mixer to the slowest speed and add the liquid to the eggs and sugar (not too fast, not too slow). Mix for 30-60 seconds, until just combined.

    Now take your flour mixture and fold it very gently into the egg cream. Your mixer should be going at minimum speed, or you can even do it by hand. Fold gently until just combined.

    Immediately pour the batter in your baking pan and place in the oven for approx. 40 minutes, or until a skewer comes out clean. Leave on a cooling grid to cool, remove from the pan after 10-15 minutes. Wrap in cling film as soon as the cake has cooled down. Chill it prior to torting and filling.

    Make the ganache Chop the white chocolate.

    Heat the heavy cream and the salt in a saucepan until it is just below boiling point (do not walk away from it!). Pour it over the chocolate and let it rest for 1-2 minutes, stir by hand and then use a stick blender to emulgate. Be careful to not create too many air bubbles. Leave the ganache to cool at room temperature, until it has the consistency of creamy peanut butter.

    Make the cream cheese filling Make 160g (or more) Swiss Meringue Buttercream, following my recipe.

    Bring the Philadelphia und Mascarpone cheese to room temperature and mix together briefly. Add the instant vanilla pudding powder and wait a few minutes for the mixture to thicken. Fold the cheeses into the SMBC gently, by hand. Do not stir too long.

    Torte and fill the cake: Torte the chilled cake into three layers and fill it with two layers of cream cheese buttercream. You will need approx. 120g buttercream per layer. Chill it for another 30 minutes.

    Cover the cake with ganache: Mask the cold cake with the white ganache. A turntable and an angled spatula are really helpful tools to have for this. Chill for another 30 minutes.

    Make the strawberry ganache Briefly melt your leftover white ganache (you should have about 100g left) and stir in 100g strawberry puree. Whip the mixture on high speed in the mixer for a few minutes, then drip it over the cold cake (you can find a video with my dripping technique in this post).

    Assemble! Now comes the fun part! Place all your decorations on a large plate, so you don’t have to run around looking for them. Place them on the cake, however you like. There is no right or wrong here! Start with the largest elements, then add middle-sized ones, and the smallest last. The ganache stays soft for quite a while, so you have time to adjust your decorations. Put the sprinkles on last, so the don’t sink into the liquid chocolate.


    Note

    This cake keeps 1-2 days in the refrigerator, but it is best enjoyed at room temperature – so take it out of the fridge at least 4 hours before serving.

    minhcakes.ch/en/strawberry-drip-cake


    Mmmmh… enjoy!

    strawberry Drip Cake 04

    Have fun making this strawberry drip cake! If you have questions or have made this cake, please leave a comment below!

    Love and happy baking,
    Minh signature

    Zum Artikel

  • Easy Genoise or the perfect vanilla cake (recipe)

    Happy Easter! What is easy genoise? I’ve been researching different types of sponges lately. There are so many methods of mixing batters and combining sugar, flour, eggs and fats.

    Depending on how you’re planning to use your sponges, you’ll be looking for lighter or a more compact consistency.

    What’s the difference between a sponge cake, a génoise, a chiffon cake, and angel food cake, pound cake etc.? I’ll be exploring this question in this series:

    Easy Genoise Rezept Minh Cakes

    I think you’ll agree with me that we are always searching  for the fluffiest, but still moist and flavorful sponge available. The cake should keep its shape during torting, filling, carving, covering and not crumble apart or sag under the weight. And yet, when we take a bite, it should should feel light and melt in the  mouth. It should not be too dry or too pasty. The cake should have a nice flavor, that complements the flavor of the filling well. Phew- that is a lot of requirements!

    According to cake guru Rose Levy Beranbaum, author of “The Cake Bible” which I’m reading these days, cake mixtures can be spilt into two general categories:

    Group 1: Butter cakes

    These batters are usually mixed with all the ingredients in a single bowl and yield a buttery, denser kind of cake, that is suitable for covering in fondant, carving and that does holds its shape well. While the ingredients can be mixed in several ways, the classic method of butter cake starts by creaming butter and sugar for several minutes in a mixer to create an emulsion, then adding eggs, and finally flour, leavening agent and liquid. Butter cakes have rich buttery taste that can be overwhelming if served in large quantities. They stay moist and fresh almost indefinitely when frozen. Butter cakes include butter cake, pound cake, sand cakes and the english Victoria sponge.

    Group 2: Sponge cakes

    These batters usually get their light and airy texture from separately foamed egg whites or whole eggs. While the most classic sponge is made just from eggs, flour and sugar with no additional fat or baking powder, there exist many variations. While these sponges are delightful to eat thanks to their lightness, they are also very fragile and don’t hold the weight of ganache or fondant very well. They are best served with a light filling such as whipped cream or jam, and without any covering, except for maybe a thin layer of buttercream, or drizzled with ganache. They also tend to dry out more quickly than butter cakes. Sponge cakes include  classic genoise, angel food cake, roulades like Swiss rolls, Pan di Spagna and chiffon cake.

    As you can see, both categories have advantages and drawbacks. And of course, there exist many recipes that are cross-sections and combine techniques from both groups.

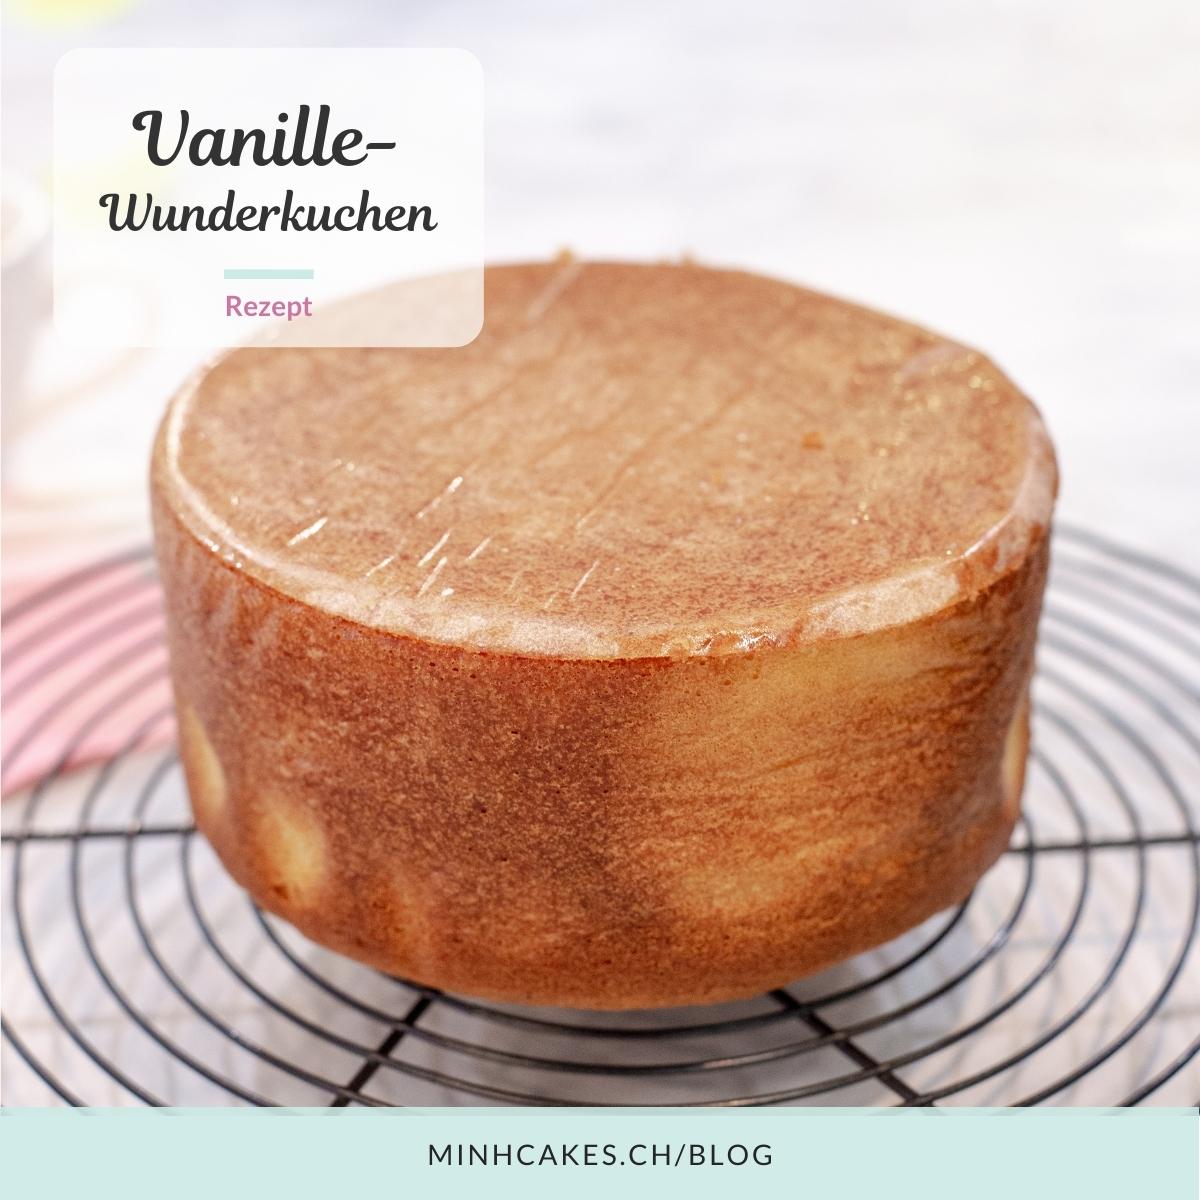
    Just a little while ago, I discovered a great recipe that seems to combine the best properties of both categories: The “Wunderrezept” (wonder recipe) from the German forum “Torten-Talk”. It’s incredibly versatile and you can alter many of the elements to fit your taste. (Here’s a strawberry version for you). Today I’m posting the vanilla version for you – I call it “Easy Genoise” because the mixing method is most similar to a genoise cake.

    It’s a simplified version of the classic genoise (which involves lots of steps like melting butter to a perfect “beurre noisette”, heating eggs over a water bath etc.): In this recipe you can beat the whole eggs with the sugar for at least 10 minutes to create a stable egg foam. Instead of butter, this recipe uses oil (read more about baking with oil in this post). Today we are adding milk as a liquid, but you can use anything you like.

    We only use one bowl to mix everything together. The result: A flat, fluffy, soft and juicy sponge that melts in the mouth but is still stable enough to fill with buttercream and cover in fondant.

    Easy Genoise video instructions:

    And here’s the easy genoise recipe for you:

    Easy Genoise (vanilla wonder recipe)

    • Servings: 8
    • Print

    Ingredients

    • 200 g (1 cup) sugar
    • 4 eggs
    • 1/2 teaspoon salt
    • 200 ml (0.8 cup) milk
    • 185 g  (0.8 cups) vegetable oil (I like butter-flavored oil such as Alba-oil)
    • 3 tablespoons vanilla extract
    • 300 g (2.4 cups) all purpose flour
    • 3 teaspoons (16 g) baking powder

    Preparation

    1. Preheat oven to 180 c (350 F). Line two 20cm (8″) baking tins with baking paper (or grease + flour them).
    2. Place the eggs in a small bowl and cover them with hot tap water for 5 minutes. Then place sugar, eggs and salt in the bowl of your mixer and beat on high speed for at least 10 minutes. If using a hand mixer, go for 15 minutes.
    3. While the mixer is working, in a separate bowl sift together flour and baking powder. Set aside.
    4. Mix together the milk, oil and vanilla in a bowl. As soon as the eggs are ready, turn the mixer to the slowest speed and pour the liquid in swiftly (not too slowly but not all at once either!).
    5. 4. As soon as the milk and oil are mixed with the eggs, fold in the flour mixture very carefully with the mixer on slowest speed or even better, by hand. Mix until just combined.

    6. Immediately pour the batter into your prepared baking tins and place in the oven. Bake for about 40 minutes, or until a toothpick comes out clean.
    7. Let the sponges cool for about 15 minutes on a rack, before unmolding. As soon as they cool down (after 1 hour or so), immediately wrap in cling film to prevent drying.


    The easy genoise keeps in the fridge for 3 days. Freezes well for a month. Always chill prior to torting and filling.

    Please leave your comments or questions below!

    Happy baking!

    Love,
    Minh signature

    Zum Artikel