It’s time for the Cake tool of the month again! Are you making lots of sugar flowers? (I am – it’s wedding season!) A pasta roller is indispensable for rolling out your flower paste (or gumpaste) thinly and evenly.
Without this really helpful tool, I’d be lost as a sugar florist. It’s a huge help with rolling out large batches of flowerpaste in one go, and paper thin to boot. In my bakery, we use the Kitchenaid lasagna pasta roller accessory. Most stand mixers come with optional attachments like this one.
But you can definitely also use the manual ones with a crank handle, they work just as well and are much cheaper.
Instructions for the pasta roller
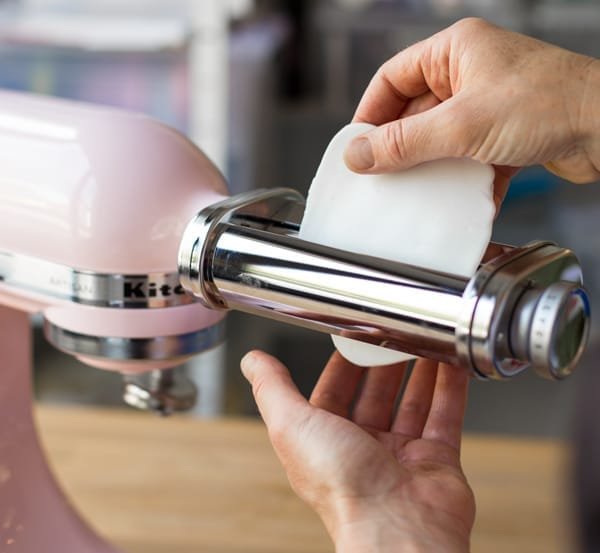
First, roll your flower paste to about 3-4 mm thickness. To prevent the paste from sticking to the drums, grease it generously on both sides with some shortening.

Set the roller to the most open (thickest) setting. Turn on your mixer and gently feed your paste through the drums. I like to go at a fairly high speed – I find the paste tends to stick less inside the machine.
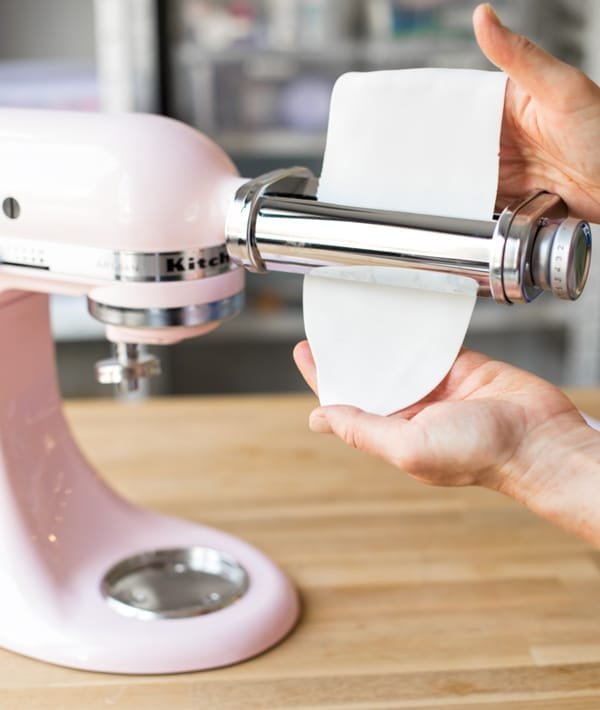
Between each pass, turn the dial and set it to one or two steps thinner. Go slowly, don’t go for superthin from the start – it’s best to feed the paste though the machine several times. As soon as you can see light shining through the paste, it’s thin enough for roses, peonies and other flowers.
For these roses, I’ve rolled the pasted extremely thin (a number 7 on the Kitchenaid roller – but each roller is different):

I hope this tip has helped you – have fun rolling out your paste. As always, please leave questions and comments below!
Love and happy flowermaking,