I’m back after a little hiatus! The past couple of months were super busy. We got our studio renovated and installed a brand new kitchen island. Also, I’ve been working on our brand new range of cake decorating classes in English. Check them out here – hope to see you soon in class!

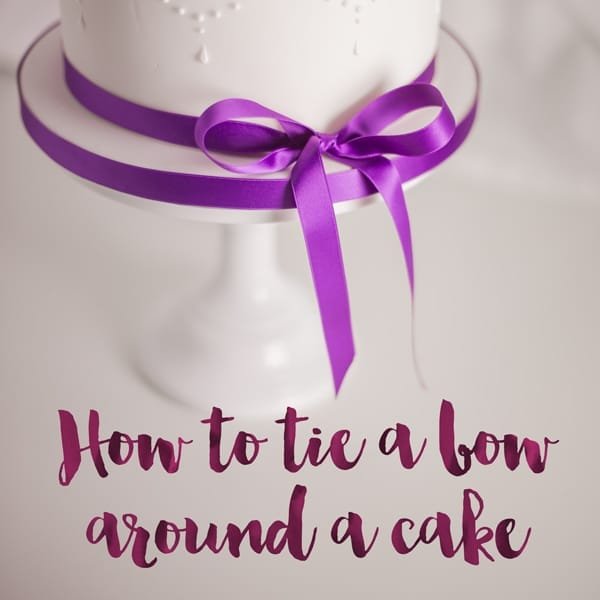
Today’s post ist about tying ribbons. If you’ve seen my cakes, you’ll have noticed that I almost always use satin ribbon trim to as a decoration element. The main advantages are: One, you can use amazing colors to complement and enhance the overall design; and two, the ribbon trim is a great way to hide any cracks and wrinkles in the edge of your cake.
It’s a tricky thing to tie a bow with both loops ending on top. With most techniques, the loops end up on opposing sides, or even on the bottom! You’re not alone if you can’t manage this properly – most students in my classes ask me to tie their bows for them. Of course I’m happy to do it, but I wanted to show you how it’s done, so you can do it yourself next time. More power to you! 🙂
So I made this little tutorial for you:
Video tutorial: How to tie a bow on cake with the loops on top
Now it’s time to practice! Do let me know in the comments, if you were able to successfully tie a ribbon on a cake. I’m waiting to hear from you!
Happy decorating und all my love,


Hey do you get buttercream not to soak grease through on a skinny ribbon?
Hi Tracy! Good question, generally I would only use textile ribbons on top of fondant and not buttercream. For buttercream, I would usually pipe a border 🙂
Happy baking, XM