Hello and welcome to my new cake blog in English! (You can still see all my posts in German here). I will translate them bit by bit as I go along!
Today I’ve got a great tutorial for you: A very cute sugar mini rose that is incredibly easy to make.
It’s a perfect decoration for small sweets like cupcakes, mini cakes, cake pops and cookies!
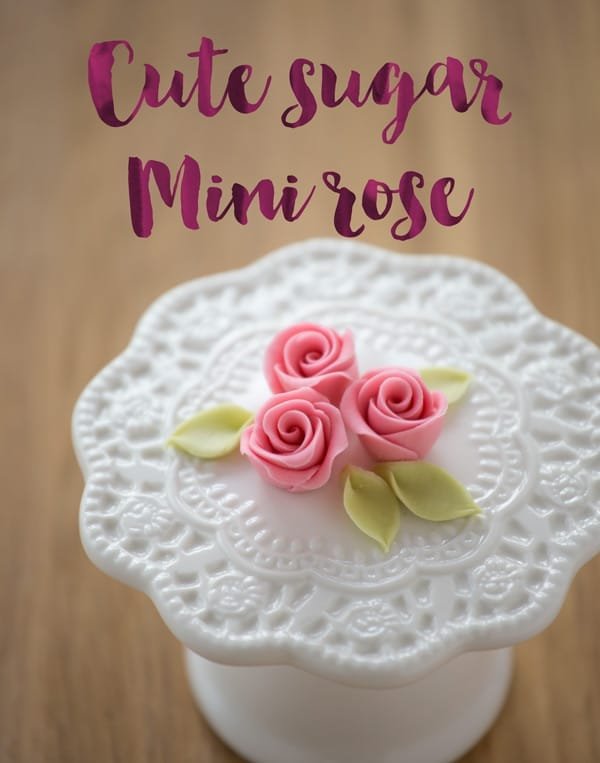
Mini rose video
I made a video explaining the mini rose step by step for you here:
These are the tools you will need for this project:
- Sugar paste (today I’m working with a 50%-50% mix of fondant and florist paste. You can also use fondant with CMC)
- Gel food color for the flowers (Sugarflair Rose) and leaves (Sugarflair Gooseberry)
- Toothpicks
- Some shortening
- A large decorating tip (I’m using a Wilton #2A here)
- A workboard
- A rolling pin
- plastic sleeve
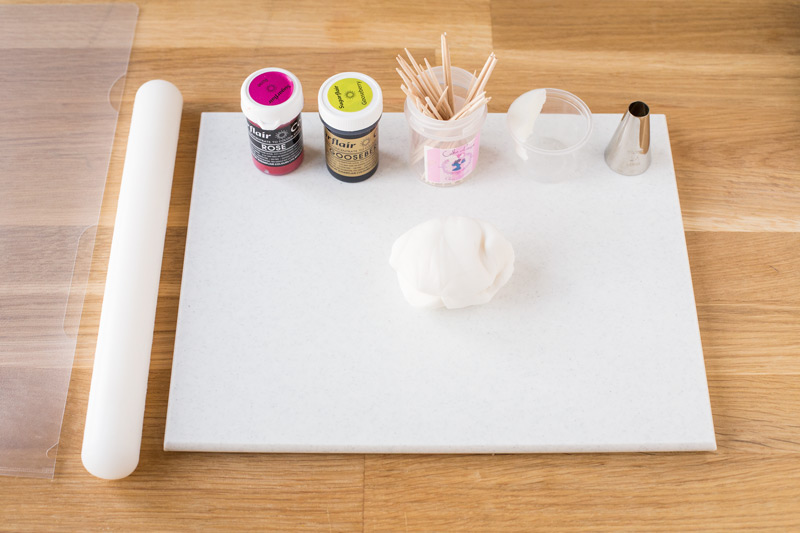
First, knead your paste with a little bit of shortening, then color it to your liking.
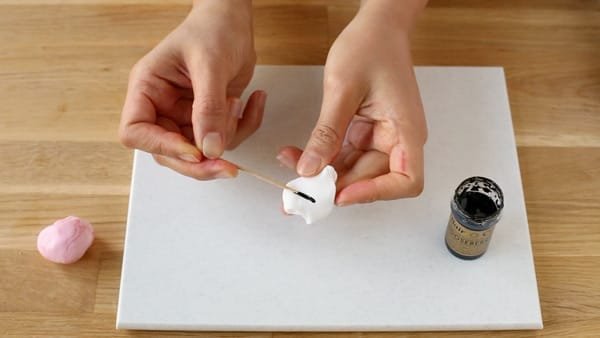
Roll out your paste to 0,5mm approximately. Using the large end of your tip, cut 6 circles.

Put the circles in your plastic sleeve and thin out the edges by smoothing them lightly with your finger.
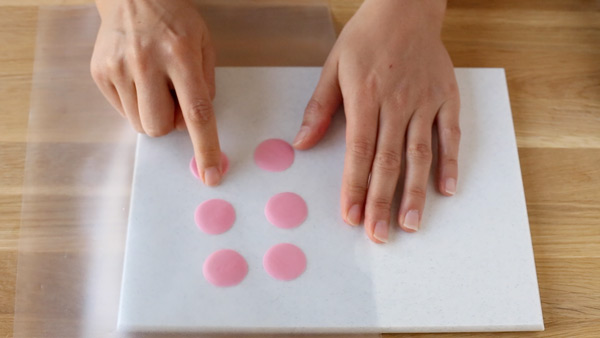
Lay your circles in a straight line. They should overlap by about a third.
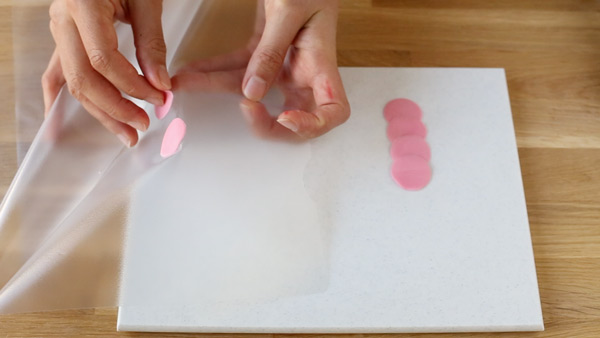
Start with the bottom circle and roll it tightly (like a sleeping bag), but with very little pressure. You don’t want to squash it!

Cut your roll in half – you’ll get two flowers!
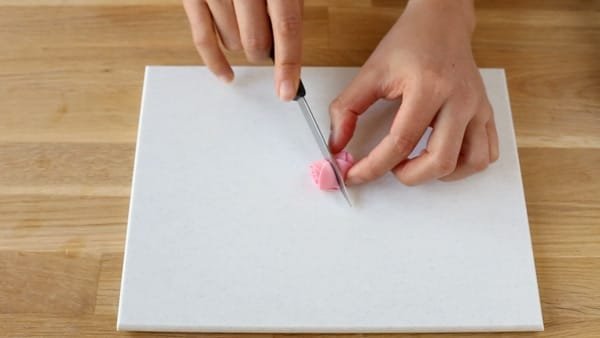
Squish the cut surface together a little bit.
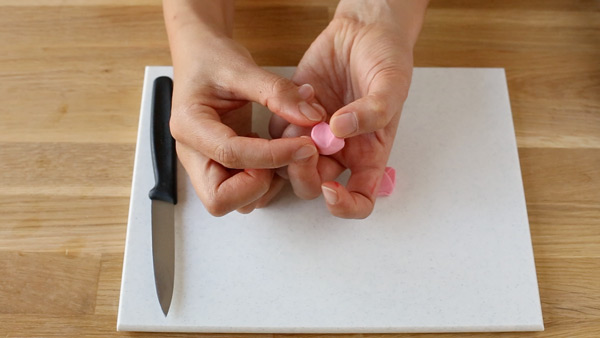
Roll back the outer petals to open then. You’ve just made a mini rose!
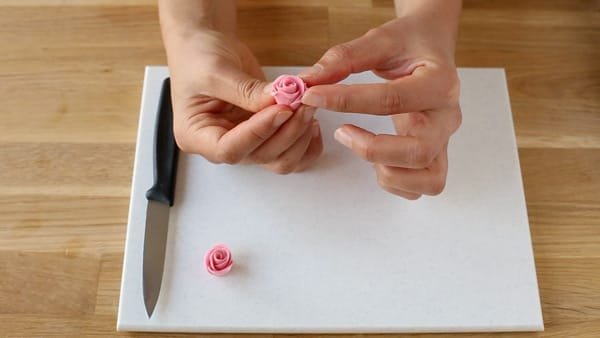
For leaves, make green circles using the same technique as above. Use your decorating tip to cut two leaves from each circle.
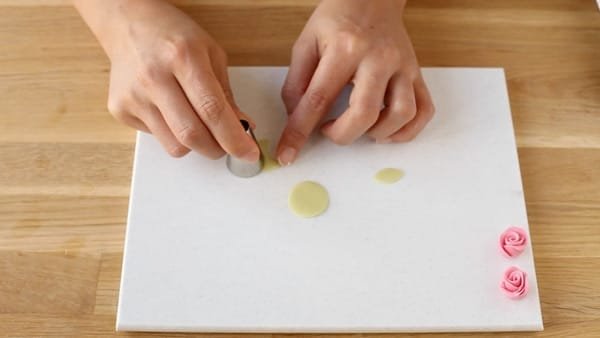
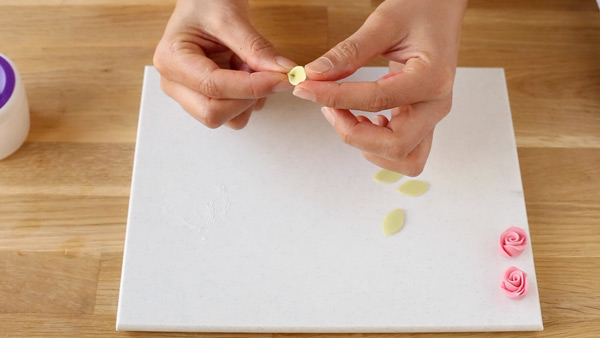
Pinch each leaf on the end to create a vein.
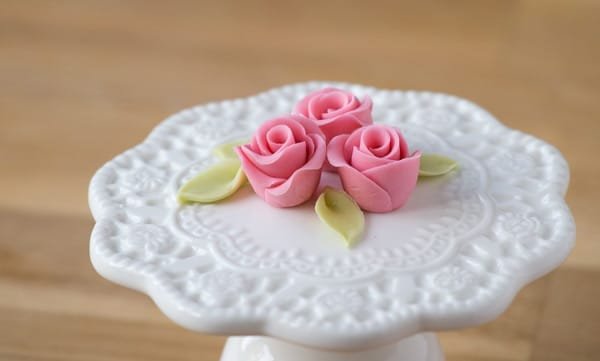
Tada! Now you just need to bake some cupcakes to place your mini roses on.
Have a beautiful Sunday!
Happy rosemaking,
